开发过程中发现对React Native生命周期的理解还不够完整,导致渲染的时候性能出现问题,所以写了个例子观察了一下。

1
2
3
4
5
6
7
8
9
10
11
12
13
14
15
16
17
18
19
20
21
22
23
24
25
26
27
28
29
30
31
32
33
34
35
36
37
38
39
40
41
42
43
44
45
46
47
48
49
50
51
52
53
54
55
56
57
58
59
60
61
62
63
64
65
66
67
/**
* Sample React Native App
* https://github.com/facebook/react-native
* @flow
*/


import React, { Component } from 'react';
import {
AppRegistry,
StyleSheet,
Text,
View
} from 'react-native';
import ChildComponent from './child';
export default class Parent extends Component {
constructor(props) {
super(props);
this.state = {
content:'content'
};
}

componentDidMount(){
console.log('Parent====componentDidMount')
}

render() {
console.log('Parent====render')
return (
<View style={styles.container}>
<Text style={styles.welcome}>
{this.state.content}
</Text>
<ChildComponent content={this.state.content}/>
<Text style={{margin:20}} onPress={()=>{this.onPress()}}>Press Me!</Text>
<Text style={{margin:20}} onPress={()=>{this.onPressME()}}>Press!</Text>
</View>
);

}

onPress(){
this.setState({content:'React Native Props'});
}

onPressME(){
this.setState({content:'React Native'});
}
}

const styles = StyleSheet.create({
container: {
flex: 1,
justifyContent: 'center',
alignItems: 'center',
backgroundColor: '#F5FCFF',
},
welcome: {
fontSize: 20,
textAlign: 'center',
margin: 10,
},
instructions: {
textAlign: 'center',
color: '#333333',
marginBottom: 5,
},
});
1
2
3
4
5
6
7
8
9
10
11
12
13
14
15
16
17
18
19
20
21
22
23
24
25
26
27
28
29
30
31
32
33
34
35
36
37
38
39
40
41
42
43
44
45
46
47
48
49
50
51
52
53
54
55
56
57
58
59
60
61
62
63
64
65
66
67
68
69
70
71
72
73
74
75
76
77
78
79
80
81
82
83
84
85
86
87
/**
* Sample React Native App
* https://github.com/facebook/react-native
* @flow
*/


import React, { Component } from 'react';
import {
AppRegistry,
StyleSheet,
Text,
View
} from 'react-native';

export default class Child extends Component {
constructor(props) {
super(props);
this.state = {
content:this.props.content
};
}

componentWillMount(){
console.log('child====componentWillMount')
}

//先调用子组件的 componentDidMount(),然后调用父组件的函数
componentDidMount(){
console.log('child====componentDidMount')
}

//1.父组件触发render后触发子组件该方法,不管属性是否改变;
//2.这里setState不会触发额外的render()
componentWillReceiveProps(nextProps){
console.log(this.props.content+'===='+'componentWillReceiveProps'+'====='+nextProps.content)
this.setState({content:'componentWillReceiveProps'});


}

shouldComponentUpdate(nextProps,nextState){
console.log('shouldComponentUpdate')
return true
}

// 这个函数调用之后,就会把 nextProps 和 nextState 分别设置到 this.props 和 this.state 中
componentWillUpdate(nextProps,nextState){
console.log('componentWillUpdate')
}

render() {
console.log('child render')
return (
<View style={styles.container}>
<Text style={styles.welcome}>
{this.props.content}
</Text>
<Text style={styles.instructions}>
To get started, edit index.android.js
</Text>
</View>
);

}

componentDidUpdate(prevProps,prevState){
console.log(prevProps.content+'===='+'componentDidUpdate'+'====='+this.props.content)
}
}

const styles = StyleSheet.create({
container: {

justifyContent: 'center',
alignItems: 'center',
backgroundColor: '#F5FCFF',
},
welcome: {
fontSize: 20,
textAlign: 'center',
margin: 10,
},
instructions: {
textAlign: 'center',
color: '#333333',
marginBottom: 5,
},
});
1
2
3
4
5
6
7
8
9
10
11
12
13
14
15
16
17
18
19
20
21
22
23
24
25
26
27
28
29
30
第一次加载:
parent.js:28 Parent====render
child.js:24 child====componentWillMount
child.js:52 child render
child.js:29 child====componentDidMount
parent.js:24 Parent====componentDidMount

点击Press Me!:
parent.js:28 Parent====render
child.js:35 content====componentWillReceiveProps=====React Native Props
child.js:42 shouldComponentUpdate
child.js:48 componentWillUpdate
child.js:52 child render
child.js:66 content====componentDidUpdate=====React Native Props

再次点击Press Me:
parent.js:28 Parent====render
child.js:35 React Native Props====componentWillReceiveProps=====React Native Props
child.js:42 shouldComponentUpdate
child.js:48 componentWillUpdate
child.js:52 child render
child.js:66 React Native Props====componentDidUpdate=====React Native Props

点击Press!:
parent.js:28 Parent====render
child.js:35 React Native Props====componentWillReceiveProps=====React Native
child.js:42 shouldComponentUpdate
child.js:48 componentWillUpdate
child.js:52 child render
child.js:66 React Native Props====componentDidUpdate=====React Native

underscore.js

在做本地缓存视频管理的时候,需要对数组进行大量的操作,本来React Native 有lodash工具库,旁边的前端同事使用的是underscore,大神在边上我就使用了underscore,其实api和lodash差不多,只是lodash更加完善,简单的处理underscore也足够。

直接下载underscore-min.js

1
import _ from './path/underscore-min';

下面是我主要用到的Api:

  1. map方法遍历数组或对象,将返回的结果组成一个新的数组或对象
1
2
3
4
5
6
7
8
9
10
11
12

let data = _.map([1,2,3],function(n){ retrun n*2; })
//data = [2,4,6]
let data = _map([{name:'james'},{name:'jakson'},{name:'tom'}],function(item){
return {
name:item.name,
isChecked:true
}
})
//data = [{name:'james',isChecked:true},
//{name:'jakson',isChecked:true},
// {name:'tom',isChecked:true}]
  1. filter返回结果为true的成员
1
2
let data = _.filter([1, 2, 3, 4, 5, 6], function(num){ return num % 2 == 0; });
//data = [2,4,6]
  1. reject返回操作结果为false的成员
1
2
let data = _.filter([1, 2, 3, 4, 5, 6], function(num){ return num % 2 == 0; });
//data = [2,4,6]
  1. difference
1
2
let data = _.difference([1,2,3,5], [2,3,6,7,8])
//data=[1,5] 只保留[1,2,3,5]中不相同的
  1. uniq
1
2
3
4
5
6
7
8
9
_.uniq(array, [isSorted], [iteratee])

let data = _uniq([1,2,3,4,3])
//data=[1,2,3,4]

let data= _uniq([{id:1,name:'bob'},{id:2,name:'jane'},{id:3,name:'jack'},{id:1,name:'bob'}],false,(item)=>{
return item.id
})
//data=[{id:1,name:'bob'},{id:2,name:'jane'},{id:3,name:'jack'}]
  1. indexOf
1
2
_.indexOf([1, 2, 3], 2);
//1,
  1. contains
1
2
3
_.contains(list, value, [fromIndex])

//可以用includes
  1. compact返回一个除去所有false值的 array副本。

    在javascript中, false, null, 0, “”, undefinedNaN 都是false值.

1
2
_.compact([0, 1, false, 2, '', 3]);
=> [1, 2, 3]

更多Api参考文档http://www.css88.com/doc/underscore/

React Native 触摸事件

响应事件:

  • View.props.onStartShouldSetResponder
  • View.props.onMoveShouldSetResponder

两个属性的回调函数里返回true表示响应事件,组件成为事件的处理者会走回调

  • View.props.onResponderGrant: (evt) => {}

    被拒绝成为处理者,执行回调:

  • View.props.onResponderReject: (evt) => {}

组件处理触摸事件的回调:

  • View.props.onResponderStart: (evt) => {}

  • View.props.onResponderMove: (evt) => {}

  • View.props.onResponderRelease: (evt) => {}

  • View.props.onResponderEnd: (evt) => {}

    是否释放事件处理权限

  • View.props.onResponderTerminationRequest: (evt) => bool

  • View.props.onResponderTerminate: (evt) => {}

多个组件嵌套响应事件:

如果多个父子组件都onStartShouldSetResponder返回true,那么最内层的子组件会最先响应,这是所谓的事件处理的冒泡机制,当然层层深入到子组件首先得得到父组件的同意:

  • View.props.onStartShouldSetResponderCapture
  • View.props.onMoveShouldSetResponderCapture

回调返回true表示该组件捕获了该事件,那么子组件就无法成为事件响应者了

React Native 手势识别系统PanResponder

panresponder对触摸事件进行了封装提供的API让我们可以更方便的使用手势识别功能

  • onStartShouldSetPanResponder: (e, gestureState) => bool
  • onStartShouldSetPanResponderCapture: (e, gestureState) => bool
  • onMoveShouldSetPanResponder: (e, gestureState) => bool
  • onMoveShouldSetPanResponderCapture: (e, gestureState) => bool
  • onPanResponderGrant: (e, gestureState) => {…}
  • onPanResponderStart: (e, gestureState) => {…}
  • onPanResponderMove: (e, gestureState) => {…}
  • onPanResponderRelease: (e, gestureState) => {…}
  • onPanResponderTerminationRequest: (e, gestureState) => {…}
  • onPanResponderTerminate: (e, gestureState) => {…}
  • onShouldBlockNativeResponder: (e, gestureState) => bool

在最近的项目里要实现parallax的scrollview头部图像拉伸效果,GitHub上搜索后发现有实现的库,那好啊npm install —save简单粗暴,咔咔import结果Android手机分分钟没效果,遂弃之,决定自己实现一个,这里面就用到了手势识别,结合动画下拉伸缩图片,scrollview和外别view手势识别冲突的拦截等。

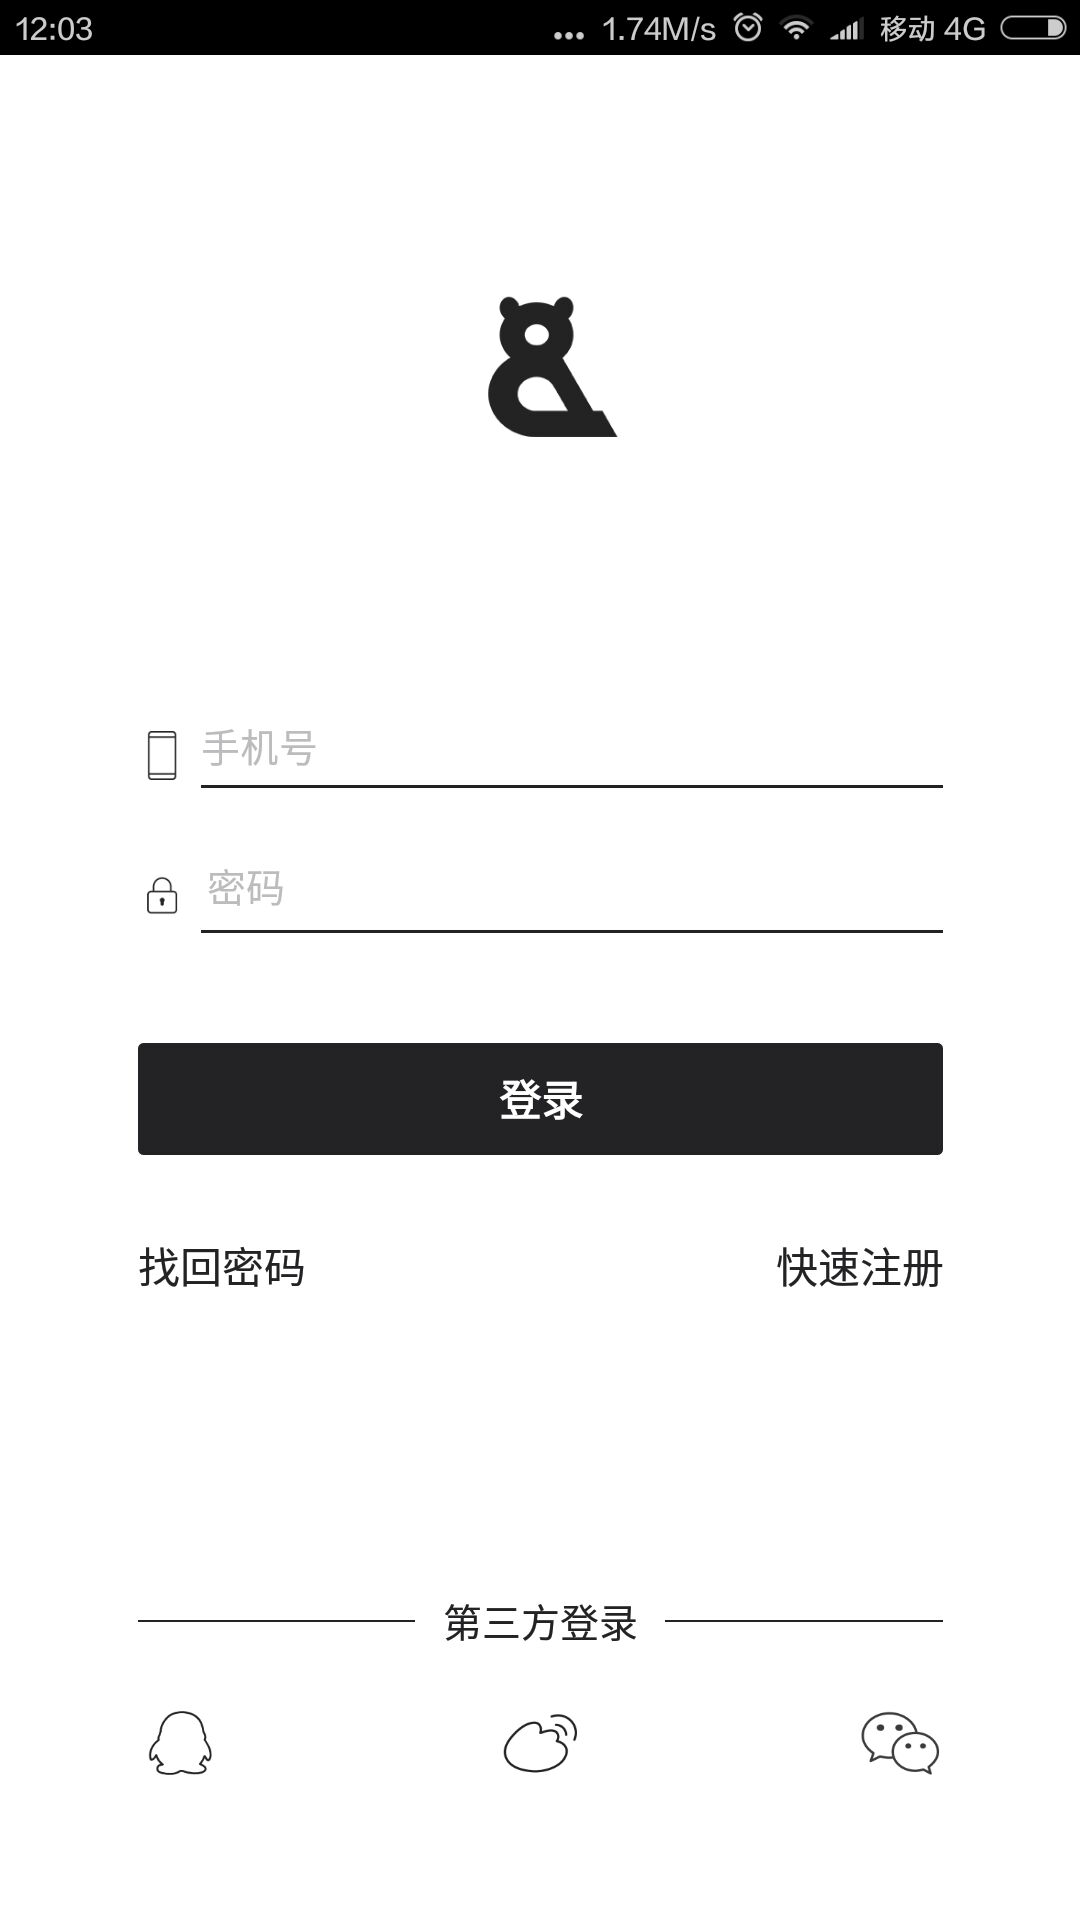
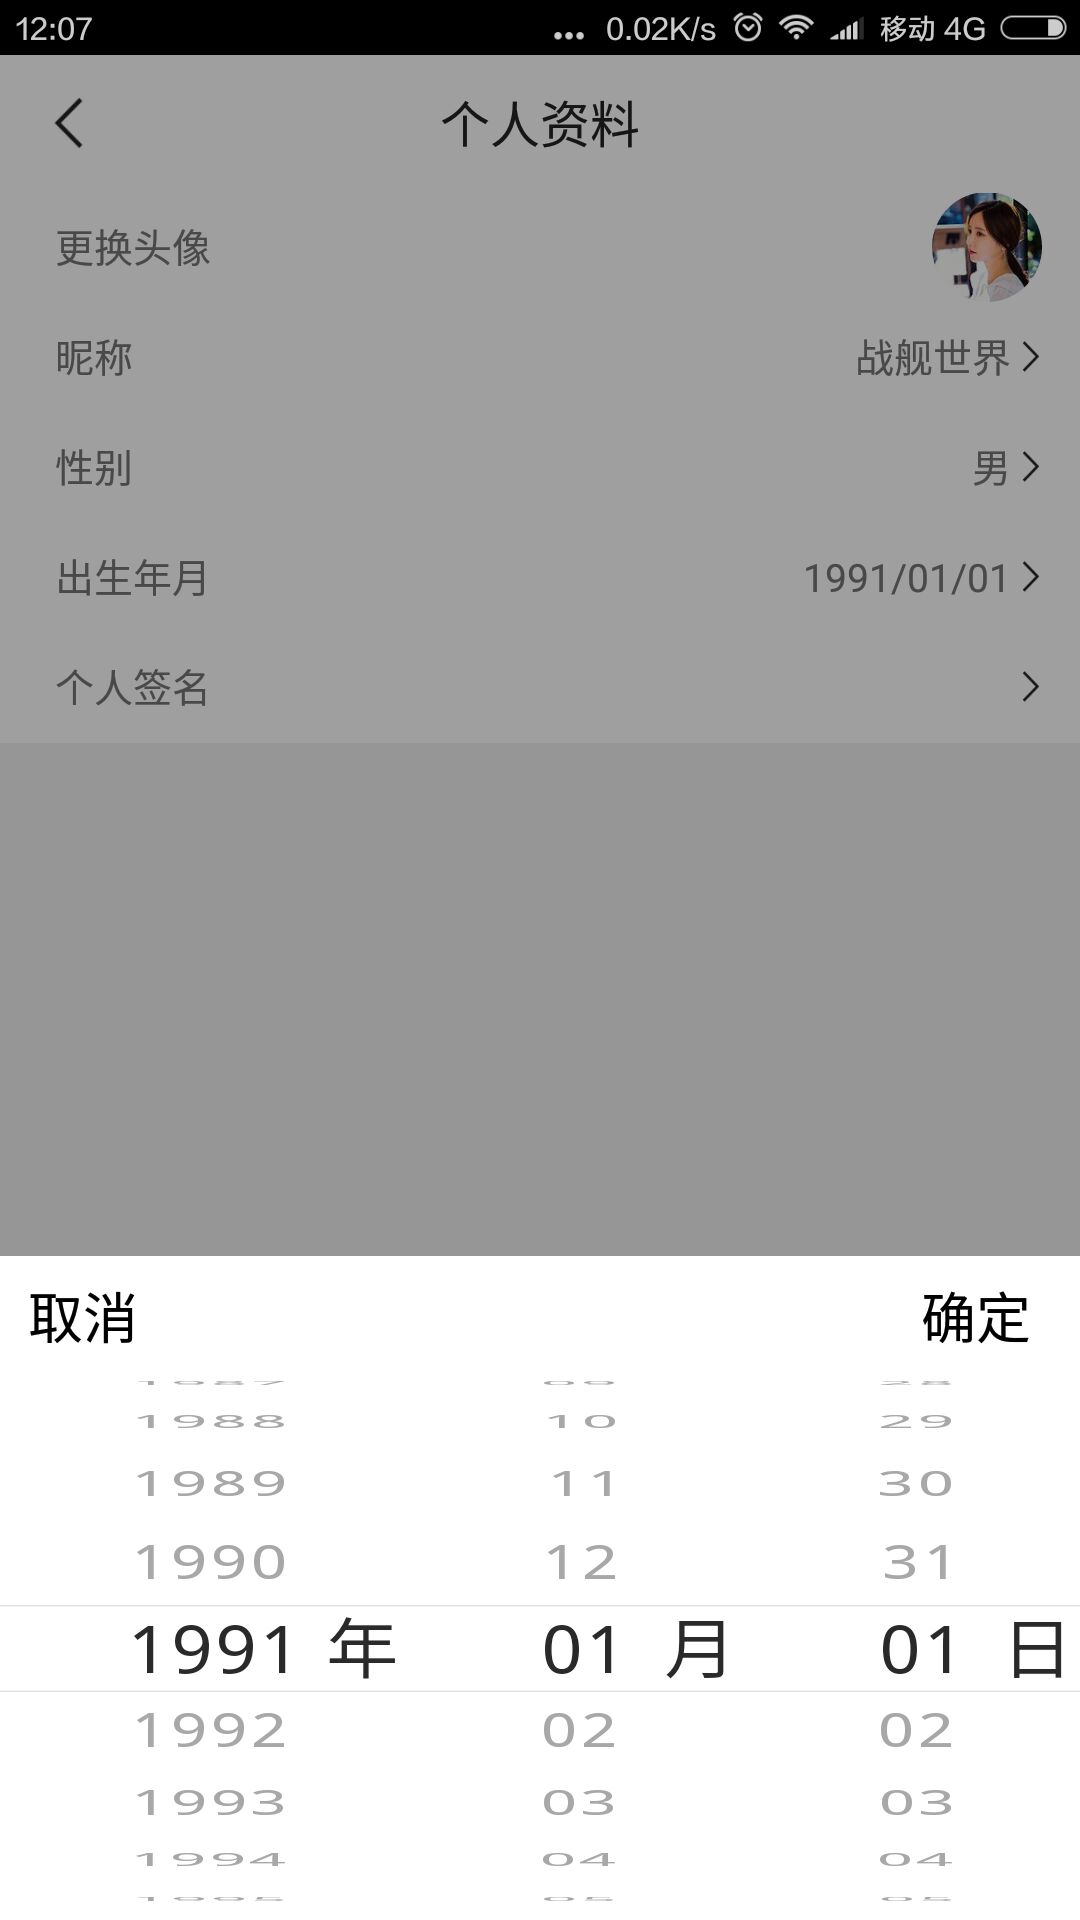
第一个React Native应用BetterThan终于上线了,是一款健身健康类应用,Android,iOS里面涉及到很多各自平台的原生技术点,因为React Native 主要是做UI相关,而很多东西需要原生实现别如:第三方登录分享,推送通知,视频录制播放等,所以说不是纯ReactNative应用,应用的第一个版本包含了直播,社交圈子和我的个人信息三部分,目前来看只能算作测试版本先行试水,接下来会迭代新的模块和继续填坑。

图片名称
图片名称
图片名称
图片名称
图片名称
图片名称
图片名称
图片名称
图片名称

Android版本下载:
图片名称

Mac下Linux实现shift+pageup/pagedown 翻页

1
shift+fn+up/down

查看Linux 服务器地址

1
ip addr

Mac终端连接Linux

1
ssh username@ipaddress

redis安装后后台运行服务

1
src/redis-server &

启动客户端

1
src/redis-cli

关闭服务

1
shutdown

[redis安装参考](http://itbilu.com/database/redis/4kB2ninp.html)